Overview
This guide explains how machine à souder au laser use a high-energy laser beam to achieve metal melting and bonding, walks you through preparing and starting the laser welder, installing and tensioning the wire feed, setting parameters, performing welding and cutting, and finally performing cleaning and maintenance procedures.
1. Preparation and Safety Checks
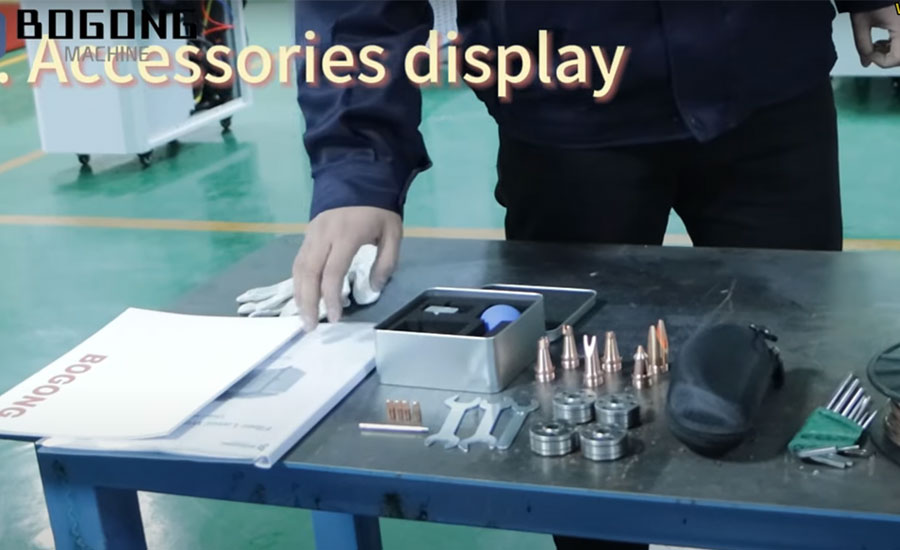
Before you begin, gather all supplied accessories—operator’s manual, wire-guide nozzle, wire-guide tube, wrenches, feed wheels, safety glasses, and welding wire—and verify you have protective gloves and appropriate eyewear on hand.
Review safety warnings in the manual: never place flammable materials in the beam path, avoid touching high-voltage components while running, and only trained personnel should operate the machine.
2. Power Connections
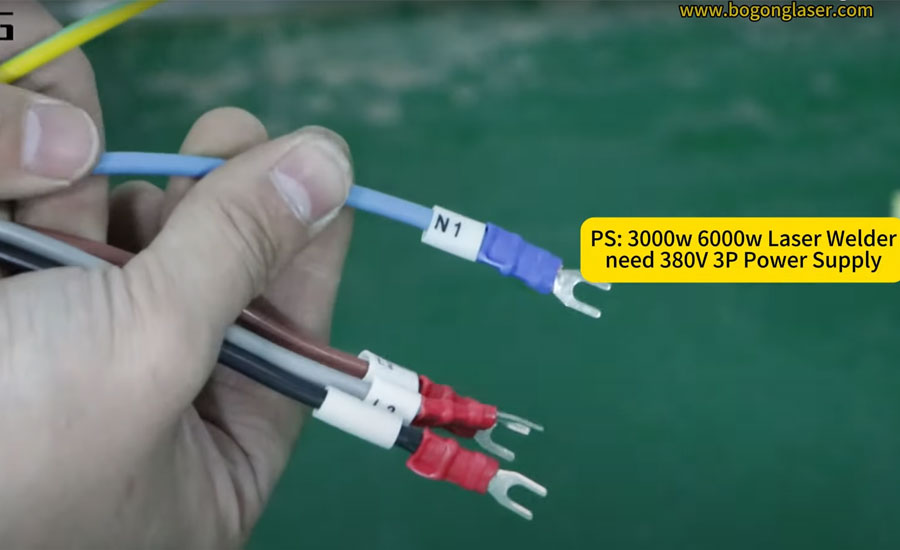
For 1,500 W and 2,000 W models, connect the L (live), N (neutral), and PE (ground) wires to the machine’s air-breaker switch in that order. On 3,000 W three-phase units, hook up L1, L2, L3, N, and PE in sequence per the machine labeling
3. Cooling System Setup
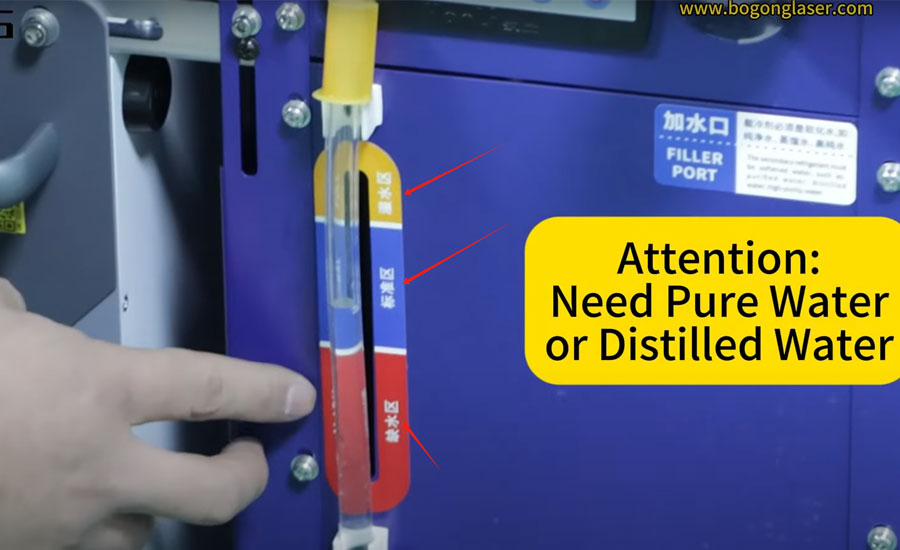
Fill the water tank with pure or distilled water, keeping ambient temperatures above 0 °C; below 5 °C you should add a laser-safe antifreeze agent to prevent system freeze-ups. Initial fill should reach the yellow “fill to” zone; thereafter top off to the blue zone every two to three months to maintain proper circulation.
4. Wire Feeder Installation
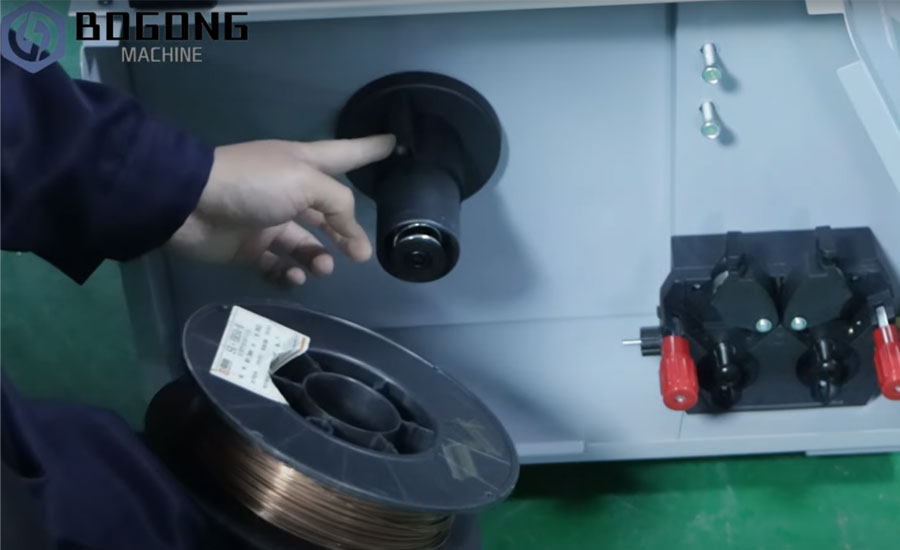
Select the correct feed-wheel size for your wire diameter—0.8 mm/1.0 mm wheels for those diameters, 1.2 mm/1.6 mm wheels for larger wire—and install it on the feeder by aligning the “Y” identifier outward and securing the bolt. Thread the front end of the welding wire into the guide tube, through the feeder pressure wheel, then adjust the red tension knob until the wire advances smoothly yet firmly.
5. Machine Startup and Laser Activation
Switch on the main air-braker, then power the control-board (green) and finally turn the key for the laser source—ensure the room temperature has stabilized around 25 °C before firing the laser. Release the emergency stop (red button), then press the controller to ignite the laser source and display the main operating interface.
6. Parameter Configuration and Wire Pre-Feed
On the touchscreen, set wire-feed speed (max value 50) and press “Feed” until the wire emerges from the nozzle (about one minute). Use the red laser preview to center the beam within the nozzle opening; misalignment risks nozzle burn-up and must be corrected before welding.
7. Welding and Cutting Operations
7.1 Welding
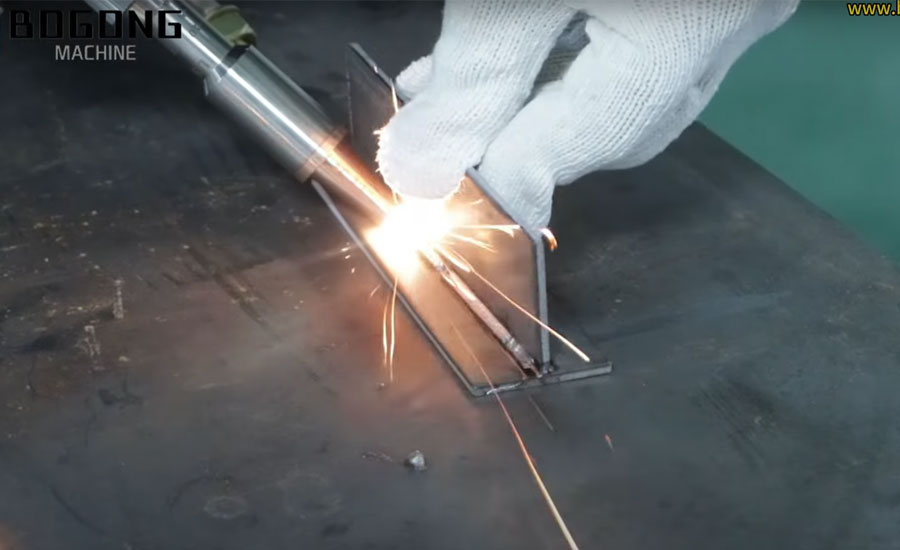
Fit the protective lens and focus lens, choosing “Welding” mode on the interface, then wear your safety glasses and gloves before acting on the workpiece with the grounding clip attached. Hold down the red firing button on the torch to emit the welding beam and progress along the joint in a steady motion.
7.2 Cutting
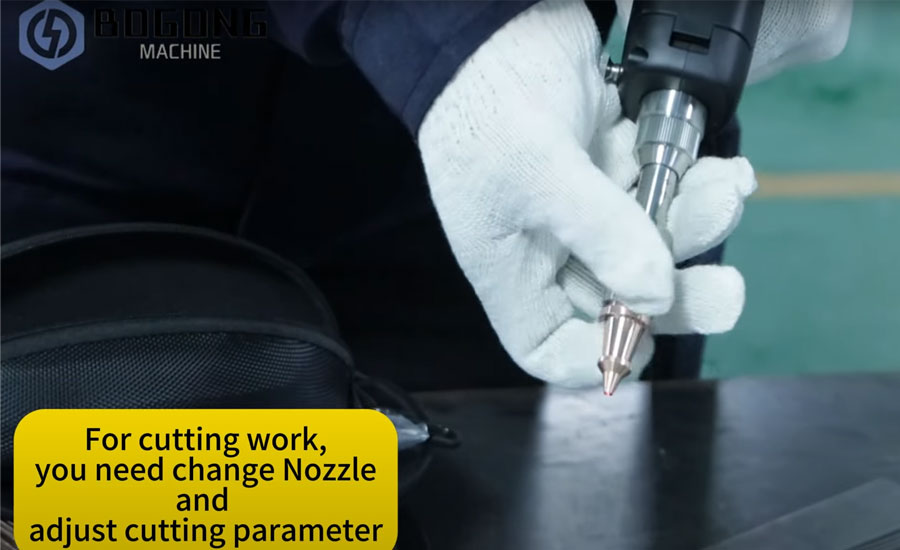
Swap the welding nozzle for the cutting nozzle, reset weld width to zero, and adjust peak power to suit sheet-metal thickness. Secure the safety clip to the torch, double-click the red button, and proceed with the cutting operation .
7.3 Application areas
Automotive industry: precision welding of body structural parts;
Electronic manufacturing: welding of micro-packages and battery shells;
Jewelry: high-precision welding of small parts;
Medical equipment: seamless connection of titanium alloy and stainless steel equipment.
8. Cleaning and Maintenance
Replace the welding focus lens with the cleaning mirror assembly (text facing the nozzle), enter the “Cleaning” menu (password 5000), clamp the workpiece, and double-click the red button to launch the laser-clean cycle. For deeper cleaning of optics, remove any dust or debris from protective and focus lenses using lens-safe cloth and alcohol, or follow industrial laser-cleaning protocols to remove oxides and contaminants without chemicals.
After cleaning, switch back to welding mode, reinstall the welding lens, and verify all parameters remain at factory settings before resuming production.
Final
By following this structured, step-by-step procedure—from machine and water setup through wire feeding, parameter tuning, welding/cutting, and final cleaning—you ensure both high-quality welds and long equipment life. If you have any questions about laser welding machines, contact BOGONG Laser and we will be happy to answer your questions.


